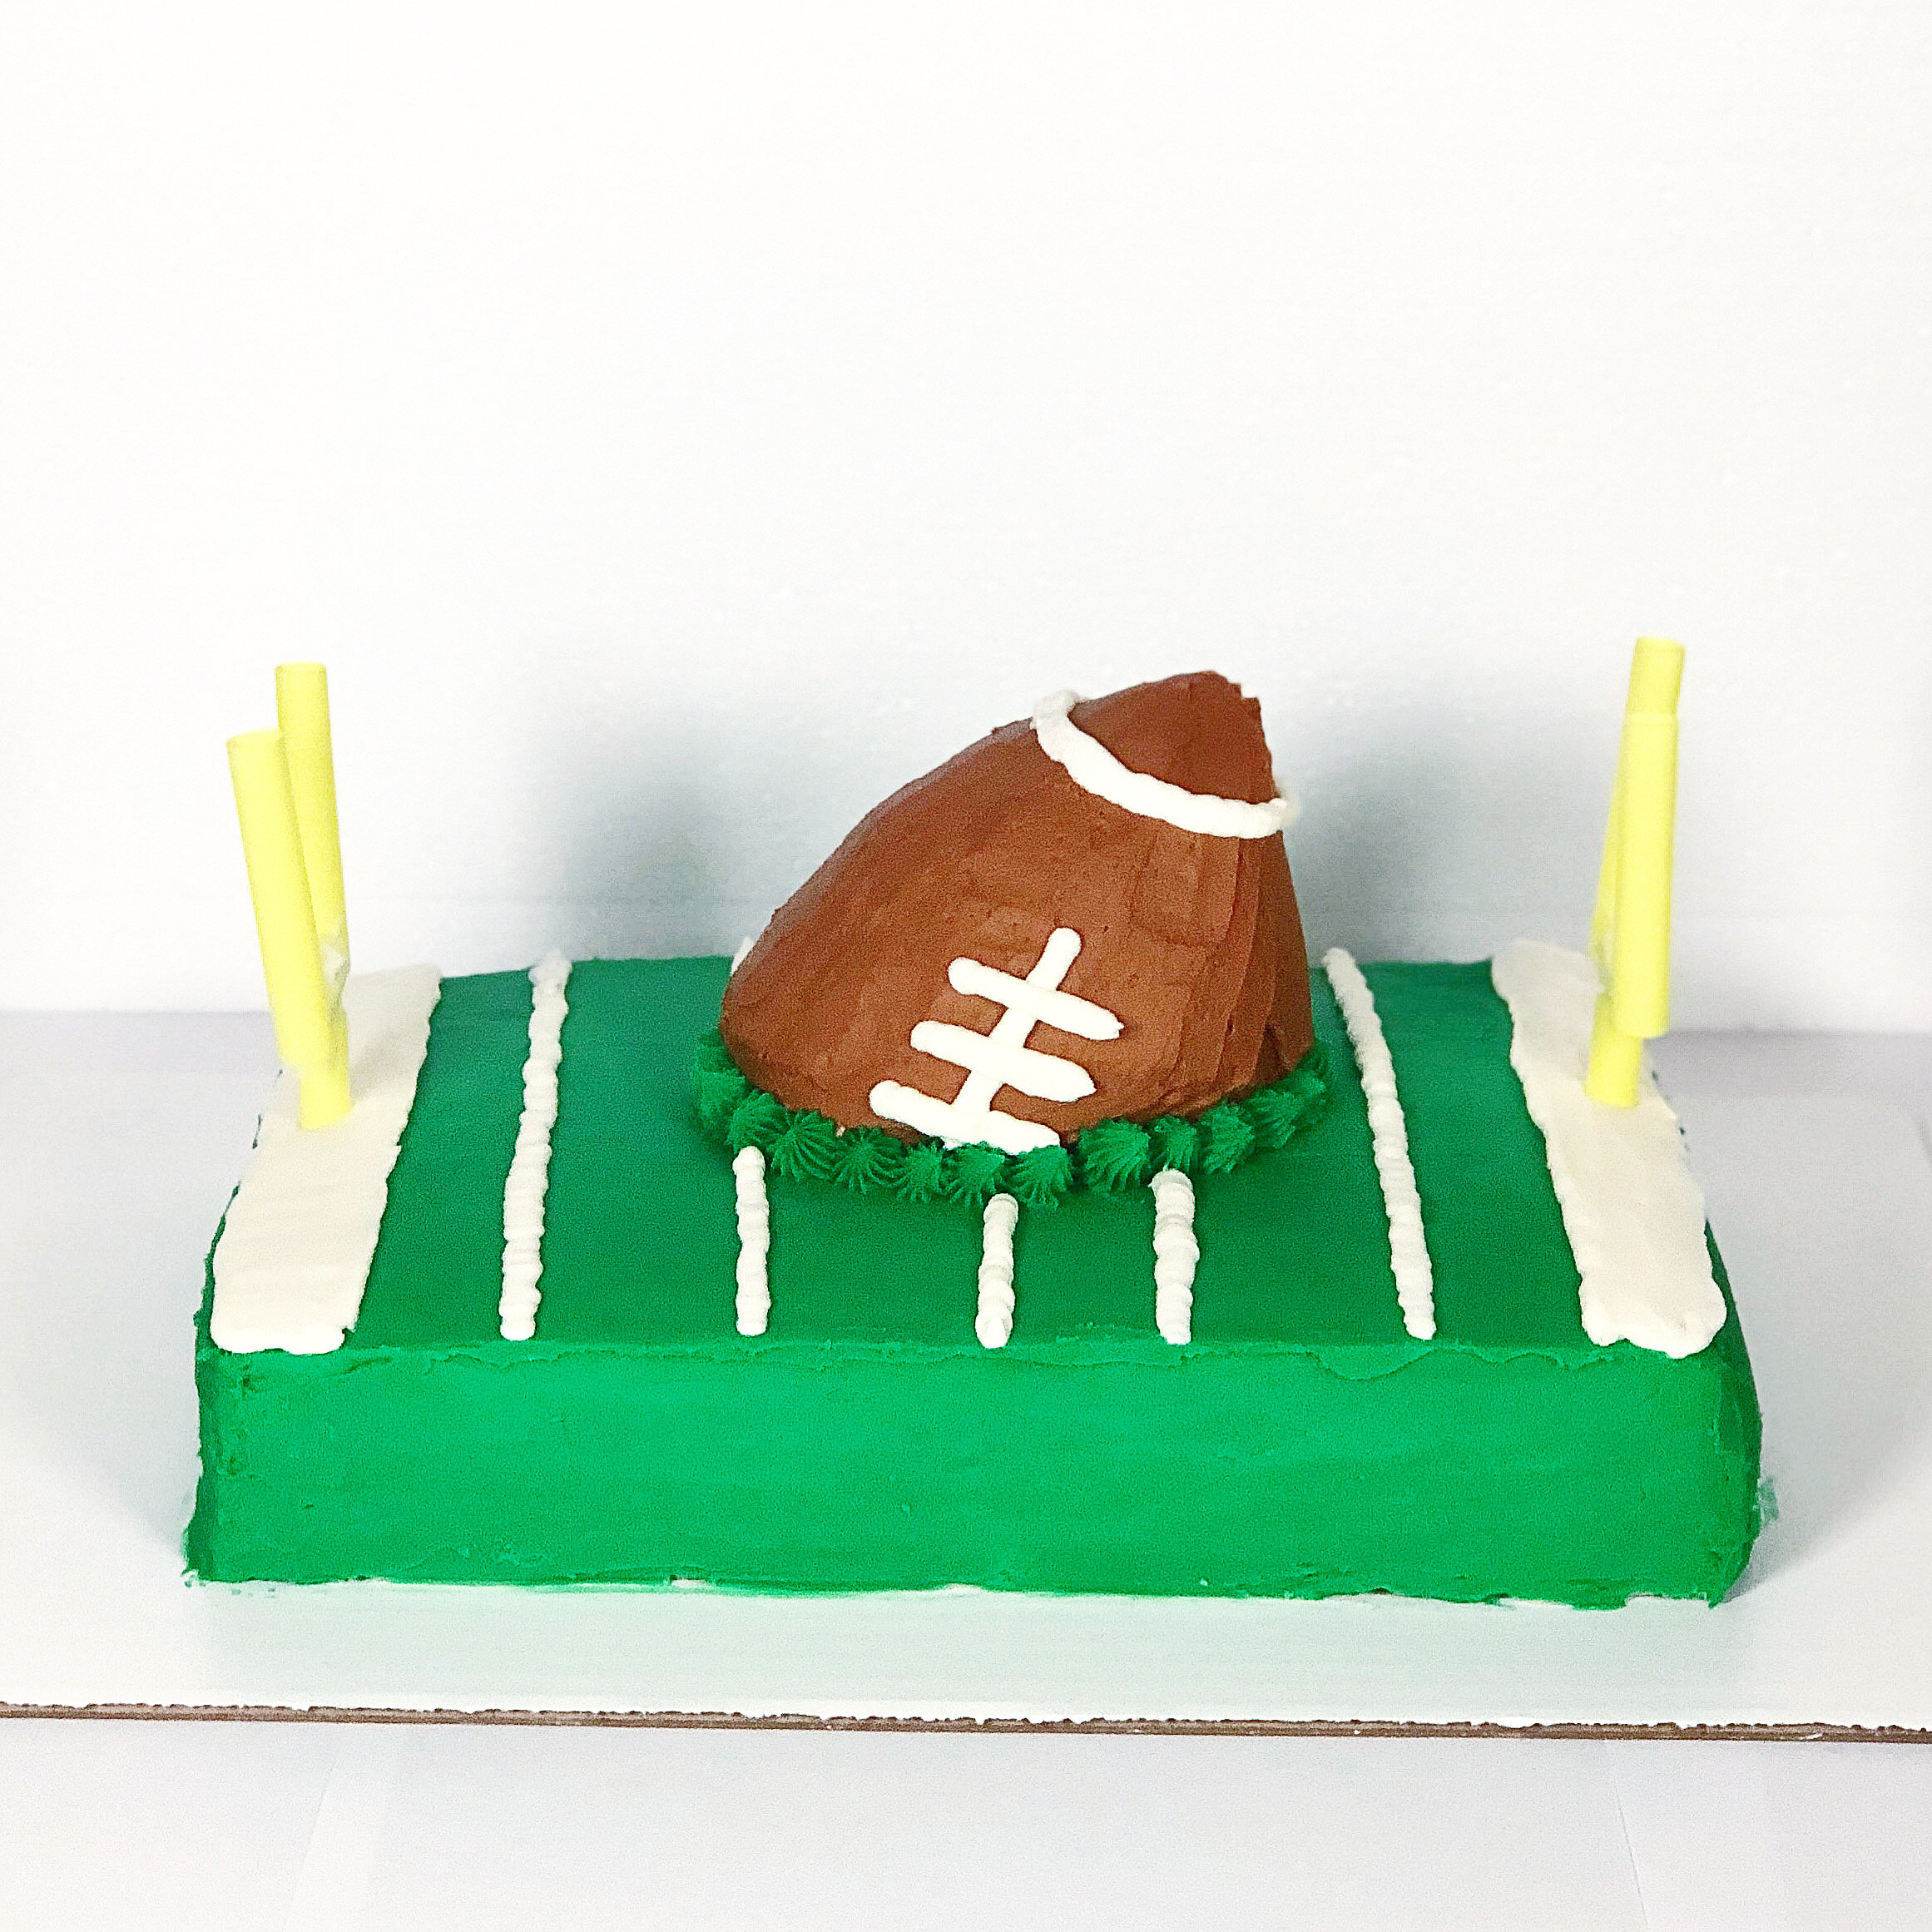
My secrets to baking & decorating cakes! - A Beginner’s Guide
If you’re reading this post, you’re either considering making your first cake or you’re trying to fine-tune some cake making skills. Regardless I’m here to FULLY support you! In this step by step guide, I share all the secrets that I uncovered on my baking and cake decorating journey.
If you haven’t already, check out my baking essentials page and get together all your necessities! Honestly, all you need is a mixer, spatula, cake board, and some cake pans! Everything else will just make your process a lot easier.
During Baking:
Find your favorite cake recipe. This is mine.
If this recipe calls for any butter, leave the butter out at room temperature to soften for at least an hour and a half. If I know I’m baking the next day, I usually just take the butter out the night before so it’s soft the first thing in the morning. If your butter isn’t soft, it won’t mix properly with the sugar, and you will be able to taste the sugar granules in your finished cake.
When measuring out your ingredients, always weigh them out with a kitchen scale. All my recipes only give measurements in grams because I never measure out sugar or flour in cups. This makes sure you get the most accurate amount of flour or sugar since different methods of using measuring cups (spooning vs. scooping) will result in different amounts of flour/sugar. I still use my measuring spoons for baking powder, salt, and the other smaller nonliquid ingredients.
If the recipe you chose uses a creaming method (the first step is to mix the sugar and butter), make sure you first whip the butter by itself for a minute. Once the butter is fluffy, add the sugar and beat first on medium and then on high until the mixture is light and fluffy in both its appearance and feel (about 5 minutes).
After you cream the butter and sugar together, and the eggs one at a time. I usually break an egg one at a time so while I’m breaking the next one, the first one has enough time to mix in with the butter and sugar.
When you get to the part of the recipe where you need to add the dry ingredients to the wet, make sure you do so bit by bit, alternating with buttermilk (if the recipe calls for some).
Buttermilk tends to go bad really fast, so I always use Saco’s Cultured Buttermilk Blend instead and it works just as well!
The batter can be over-mixed, so make sure you just mix it until all the dry ingredients are just combined.
I fill my cake pans about 2/3 of the way full. I always change the cake pan size based on the need of my current cake. The only thing that will change is the amount of time the cake spends in the oven. I usually turn a timer on for 25 minutes and then spend the next 10-15 minutes hovering over the oven, sticking in toothpicks to see when the cakes are completely done. The golden rule is when a toothpick comes out clean from the center of a cake (without any wet batter), the cakes are done.
For a detailed rundown of how I remove my cakes from the cake pans, watch my YouTube video here. If you want to save the cake layers for later, read this detailed post on how I freeze my cake layers for future use!
I usually level my cakes while they’re warm, before freezing them, but I’ve also leveled them when they’re frozen. If you’re using a leveler, you’ll want to level your cakes while they’re warm as the leveler won’t work on frozen cake layers. If you have a serrated knife, you may have more control leveling your cake layers when they’re a little cooler/frozen.
While Frosting:
Just like the batter, the frosting requires room temperature butter. Make sure your butter has been sitting out for at least an hour before making your frosting.
When I frost my cakes, my cake layers are ALWAYS frozen. This significantly reduces the number of crumbs you have while applying your crumb coat.
I never trim the caramelized edges of the cake layers, but I’ve seen some bakers do this. One thing to keep in mind if you remove your edges is that you’ll have more crumbs while applying your crumb coat.
I always use a cake board a size up from my largest cake layer. So if I was making 6-inch cake layers, I would use 8-inch cake boards. If you’re using a fancy cake drum for presentation purposes, I usually just place the first layer on this board. You can put a cake board that is the same size as your cake on the bottom to transport the cake without a visible board on the bottom, but I find this tedious and unnecessary.
I have a silicone mat between my cake board and turntable to prevent the cake board from shifting. A piece of tape works just as well.
To prevent the cake layers from shifting on the cake board, smear some frosting on the cake board center before placing the first cake layer on the cake board.
As I stack my cake layers, I adjust the cake layers as needed to make sure the cake is still straight.
If you’re using a filling like whipped cream or something that moves around a lot, I like to place my cake in the freezer before applying the outside crumb coat. This hardens the frosting in between the layers and prevents the cake layers from shifting as you applying frosting on the outside of the cake.
When I apply my crumb coat, I’m not too particular about getting smooth sides. I’m more concerned with making sure the cake sides are straight, the cake edges are sharp, and all visible cake is covered with frosting.
Once I’m satisfied with my crumb coat, I clean my cake board to remove any extra frosting. Then I place my cake in the freezer for about half an hour to let the crumb coat really set.
Once the crumb coat is set, it’s time to add the final layer of frosting. I like to use piping bags for this part because it makes sure the frosting is applied evenly everywhere. If you’re just starting out though, you don’t need to invest in piping bags. Just scoop the frosting on with an angled spatula.
If you’re covering the cake with piping work, make sure your crumb coat is as close in color to your piping frosting color. This will hide any small gaps in piping.
To get the sides of my cake really smooth, I use my bench scraper. I position it straight up against my cake, and then slowly turn my turntable until I go fully around the cake once. I do this again a few more times, always removing the excess frosting from the scraper in between. In my videos, this process is sped up and looks like it takes me maybe 20-30 seconds. That is far from true! Sometimes it can take me longer than 20 minutes to be satisfied with the final result.
To get nice sharp edges, I first cover the top of my cake with frosting and push the frosting over the sides of the cake. Then with my bench scraper, I push those edges back up over the top of the cake. Then I take my small angled spatula and carefully bring in the edges over the top towards the center of the cake. After each swoop, make sure you clean off your angled spatula otherwise your swoop won’t be clean.
Once your sides are smooth and your edges are sharp, you’re ready to add a drip or a buttercream border! I have recipes for both chocolate ganache drips and white chocolate ganache drips!